2026 How to Replace a Stove Heating Element Quickly and Easily?
Replacing a stove heating element can seem daunting, yet it’s a straightforward task. According to John Reynolds, a leading expert in home appliance repairs, “Understanding your stove's heating element is key to a successful replacement.” This highlights the necessity of knowledge when tackling such an issue.
Many homeowners can face challenges with their stove heating element. Sometimes, understanding the model and necessary tools creates confusion. The right approach can make the replacement process quick and easy. The goal is to restore functionality while ensuring safety throughout the procedure.
While most people navigate this task successfully, a few missteps often occur. Small details, such as forgetting to unplug the stove or not having the right replacement element, can delay the process. By taking a little extra time to prepare, you could prevent these hiccups. Having the correct knowledge on hand will make replacing a stove heating element a smooth experience.
Understanding the Basics of Stove Heating Element Functionality
Understanding the functionality of stove heating elements is crucial for
efficient cooking. These components play a vital role in converting
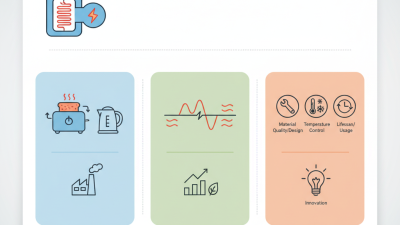
electrical energy into heat. Voltage and amperage determine their efficiency.
A study indicates that around 75% of stoves run on electricity, highlighting
the importance of understanding their heating elements.
Leakage and resistance can affect performance. If the heating element shows signs of wear, cooking energy is wasted.
For instance, a cracked ceramic plate can cause heat to escape.
Regular maintenance can save significant energy costs. Research shows that households can reduce their electricity bills
by up to 20% through effective stove care.
Knowing how to identify issues with stove heating elements is key.
Look for discoloration or broken surfaces.
These signs indicate a malfunction. Addressing these problems quickly can prevent further damage. Stove heating elements
can last for years with proper care, but awareness is essential. Regular inspections and timely replacements keep your
kitchen efficient.
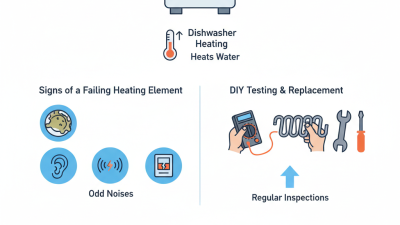
Identifying Signs of a Malfunctioning Stove Heating Element
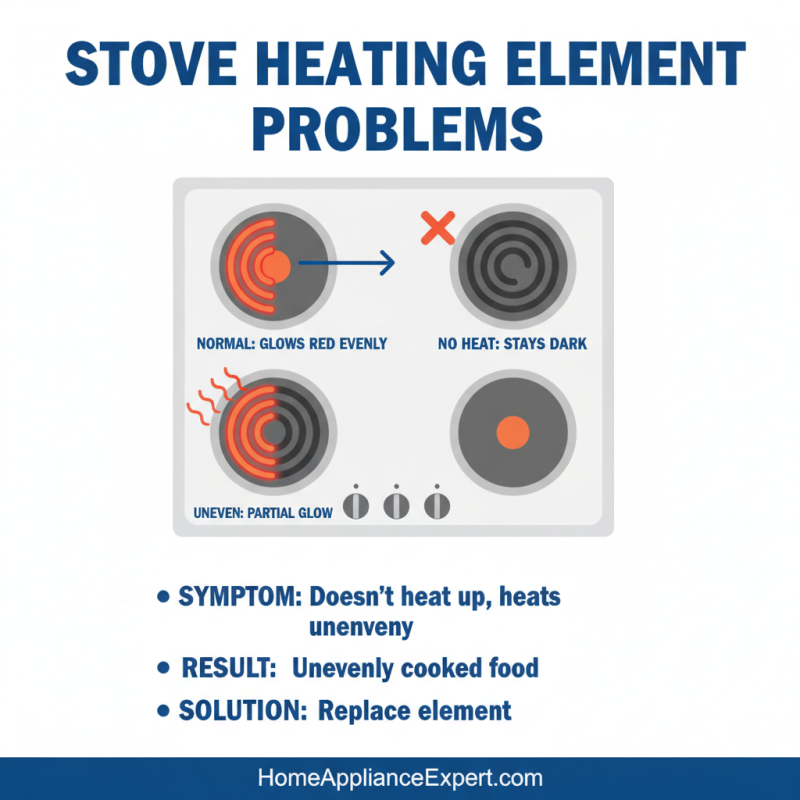
When using a stove, you might notice signs that the heating element is malfunctioning. A heating element should glow red when functioning well. If it fails to heat up, that's a clear warning. Sometimes, the element may exhibit uneven heating. You’ll see one part glowing bright red while another stays cold. This inconsistency can lead to unevenly cooked food.
Another sign to watch for is visible damage. Cracks or burnt spots on the heating element indicate significant issues. In some cases, you may even hear unusual sounds, such as popping or buzzing from the element. Any of these signs warrant further investigation. Ignoring them can lead to cooking difficulties and even safety hazards.
If you experience any of these symptoms, take action. Check the power supply and connections first. A loose wire can mimic a heating element failure. If everything looks fine, consider replacing the element. Although it may seem daunting, with careful steps and the right tools, this task can be handled safely.
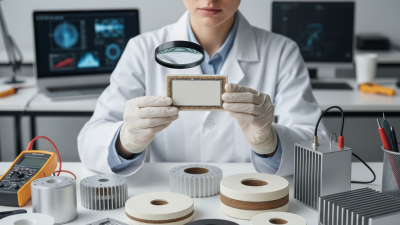
Tools and Materials Needed for Element Replacement
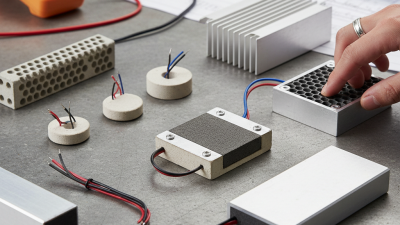
Replacing a stove heating element can be simple if you have the right tools and materials. Start with a screwdriver. Depending on your stove, you might need a flathead or Phillips screwdriver. An adjustable wrench may also be handy for some models. A multimeter is important to test the new element. Purchase a compatible element based on your stove specs. Don't forget safety gloves. They protect your hands from cuts and burns during the replacement process.
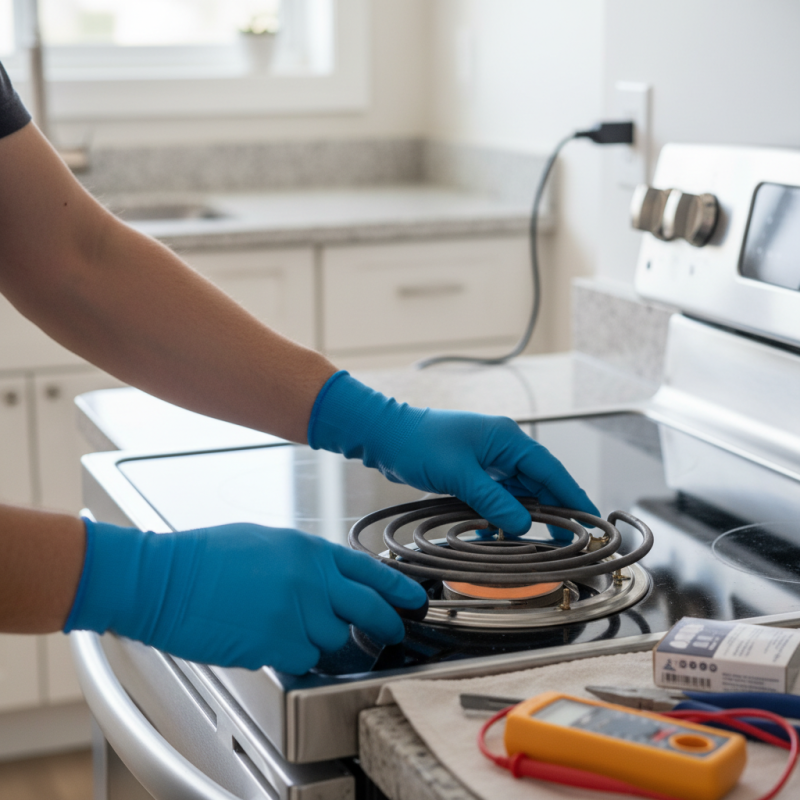
Before starting, ensure the stove is unplugged. This is crucial for safety. Remove any screws or clips holding the old element in place. Take caution, as some elements can be sharp. Align the new element correctly before securing it. After installation, test it carefully. A multimeter can confirm its functionality. This step is often overlooked, and it can lead to further issues. Remember that troubleshooting is part of the process. If the new element doesn't work, double-check the electrical connections. This is a common mistake that can be easily fixed.
Step-by-Step Guide to Safely Removing the Old Heating Element
When it comes to replacing a stove heating element, safety is paramount. Before starting, ensure the stove is unplugged. This simple step prevents any accidents during the process. Gather your tools — a screwdriver and a pair of gloves. With these items at hand, you’re ready to begin.
Remove the old heating element by unscrewing it from the stove’s bottom. Gently pull it out. Sometimes, it may stick. If it does, try wiggling it a bit. Avoid using excessive force, as you might damage the wiring. Inspect the wiring connections to ensure they are in good condition. If there are signs of wear, consider consulting a professional for advice.
Tips: Always handle components with care. Wear gloves to avoid cuts. If you're unsure about any step, don’t hesitate to seek help. Rushing through these tasks can lead to mistakes or unsafe conditions. Taking your time is essential. Make sure everything is secure before plugging the stove back in. It’s better to be cautious than to deal with a malfunction later on.
Installing the New Heating Element: Best Practices and Tips
When installing a new stove heating element, preparation is key. Start by ensuring the stove is unplugged and cooled down. Gather the necessary tools, such as a screwdriver and pliers. Make sure to wear gloves to protect your hands during the process. It's crucial to handle the old element carefully to avoid any sharp edges.
Before installing the new element, double-check the compatibility with your stove model. Align it properly in the bracket before securing it. Gently push the element into place, ensuring it sits snugly. Remember to secure any screws, but avoid over-tightening. This can create stress on the element, leading to future issues.
Once installed, it’s important to test the heating element before regular use. Turn on the stove and monitor for any irregularities. If you notice flickering or unusual smells, turn it off immediately. This reflects the need for a cautious approach. Staying observant during this process can save you from bigger problems down the line.
2026 How to Replace a Stove Heating Element Quickly and Easily? - Installing the New Heating Element: Best Practices and Tips
| Step |
Description |
Tips |
Estimated Time |
| 1 |
Unplug the stove from the power source. |
Always ensure safety first before starting repairs. |
5 minutes |
| 2 |
Remove the old heating element carefully. |
Use protective gloves to avoid burns. |
10 minutes |
| 3 |
Align the new heating element with the mounting points. |
Check the orientation before securing it. |
5 minutes |
| 4 |
Fix the heating element in place with screws. |
Do not overtighten to prevent damage. |
10 minutes |
| 5 |
Plug the stove back into the power source. |
Ensure all connections are secure. |
2 minutes |
| 6 |
Test the new heating element. |
Observe for unusual sounds or smells. |
5 minutes |
 +852 60984748